Consume RESTful Web Services Using HttpClient in ASP.NET Core and Razor Pages
Today I will talk about how to build a simple REST client using System.Net.Http.HttpClient using Razor Pages in ASP.NET Core. HttpClient is an alternative to using the RestSharp library that people use in the ASP.NET Standard Framework. This application acts and behaves like a browser-based REST client plugins, such as Boomerang, Advanced Rest Client, Talend API Tester, etc., but not as sophisticated.
To be able to develop and test a REST client, we need a REST service! So, for the REST service, I will use my Web API application from my previous post. During testing, I will have both applications opened in two different Visual Studio instances, basically, two localhosts running side by side.
Source Code
Download the source code here. This project was created in Visual Studio Community 2019.
Project Setup
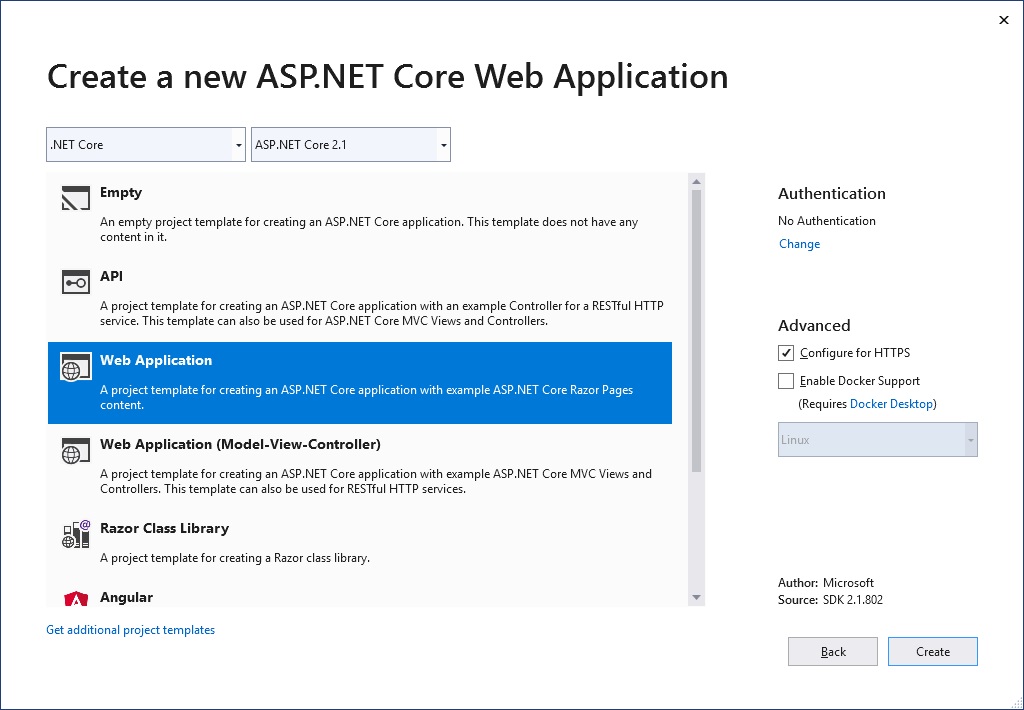
I created my application in Visual Studio Community 2019. To create the project, I added a new project and selected ASP.NET Core Web Application.

Then you choose Choose Web Application on the next page, as shown below, because we’re not really creating an API or MVC project. Although, you can extend this project to any projects really.
Below is the project files created for you by Visual Studio.

To quickly summarize, this is what I’m going to do:
- Modify Index page/model — calls the web service
- Modify Error page/model — displays error messages
- Create Response page/model — displays response from web service
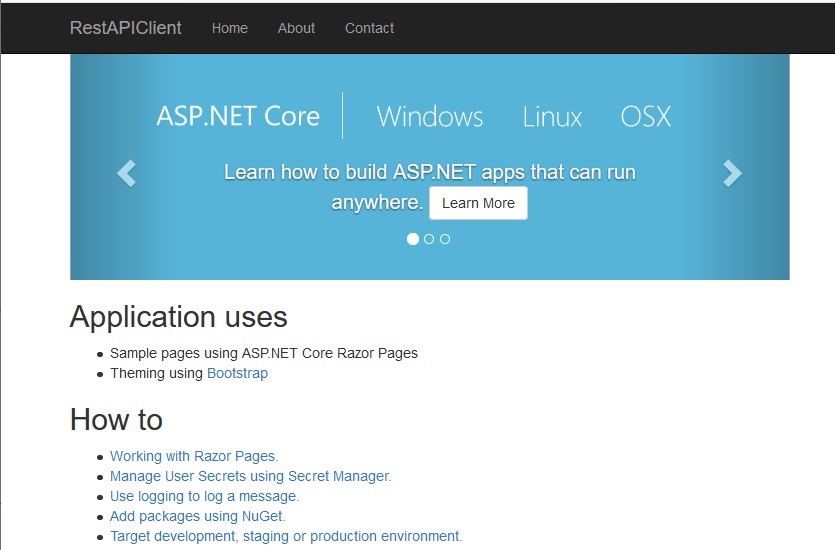
You can immediately run the program, as shown below. As you can see, this is the Index page with Boostrap styling.
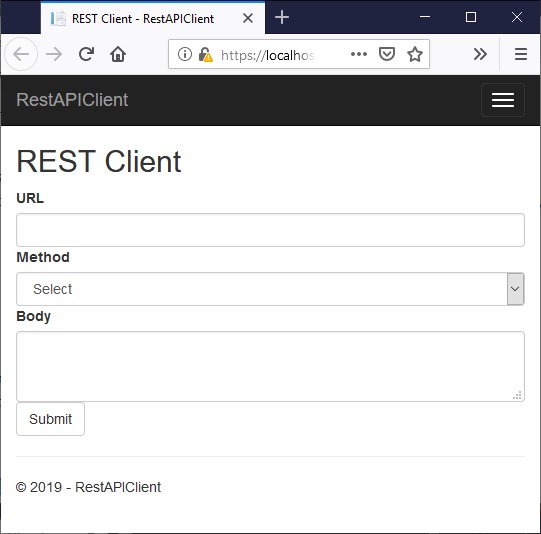
I will change this Index page so that the user can enter a URL of the web service, choose a method from a dropdown box, and enter a json data in a text box, as illustrated below.
Index Page
To make the index page look like the page above, I modified Index.cshtml like this:
@page
@model IndexModel
@{
    ViewData["Title"] = "REST Client";
}

<h2>REST Client</h2>
<form method="post" class="form-horizontal">
    <div class="form-group">

        <label for="BaseUrl" class="control-label col-sm-3">URL</label>

        <div class="col-sm-8">
            <input type="text" asp-for="BaseUrl" class="form-control" />
        </div>


        <label for="RequestMethod" class="control-label col-sm-3">Method</label>
        <div class="col-sm-8">
            <select name="RequestMethod" class="form-control">
                <option value="">Select</option>
                <option value="GET">GET</option>
                <option value="POST">POST</option>
                <option value="PUT">PUT</option>
                <option value="DELETE">DELETE</option>
            </select>
        </div>


        <label for="Data" class="control-label col-sm-3">Body</label>
        <div class="col-sm-8">
            <textarea asp-for="Data" class="form-control"></textarea>
        </div>


        <div class="col-sm-offset-2 col-sm-8">
            <input type="submit" value="Submit" class="btn btn-default"/>
        </div>
    </div>
</form>
Take note of the asp-for tag helper in each of the input forms. For example, in the text box,
<input type="text" asp-for="BaseUrl" class="form-control" />
The value BaseUrl is going to be used for model binding. Same with RequestMethod of the dropdown box, and Data of the textarea box.
Also, take note of Bootstrap styling such as class="form-control", class="form-group", etc. which I’m using to help me align the labels and boxes on the page.
Index PageModel
Our default IndexModel is very simple, it’s got one method called OnGet(). We’re going to add some public variables to get the model binding to work, as shown below:
using System;
using System.Collections.Generic;
using System.Linq;
using System.Threading.Tasks;
using Microsoft.AspNetCore.Mvc;
using Microsoft.AspNetCore.Mvc.RazorPages;

namespace RestAPIClient.Pages
{
    public class IndexModel : PageModel
    {
        [BindProperty]
        public string RequestMethod { get; set; }

        [BindProperty]
        public string Data { get; set; }

        [BindProperty]
        public string BaseUrl { get; set; }

        public void OnGet()
        {

        }

        public async Task<IActionResult> OnPost()
        {
            string responseContent = "[]";

            return Content(responseContent);
        }
    }
}
As you can see I added the properties RequestMethod, Data, and BaseUrl with [BindProperty] above them. By doing this, we don’t need to explicitly read their values that are passed from the web page.
Take note that I also added a method called OnPost() which is empty at the moment, except that it returns an empty json string.
Also take note, that when you run the program, it first goes to OnGet() method, then displays Index.cshtml. I’m leaving that method empty because I don’t have anything to pass to the page. On the other hand, OnPost() is called after you click Submit on the form.
OnPost Method
Below is the complete OnPost() method..
public async Task<IActionResult> OnPost()
{
    string responseContent = "[]";
    try
    {
        Uri baseURL = new Uri(BaseUrl);

        HttpClient client = new HttpClient();

        // Any parameters? Get value, and then add to the client
        string key = HttpUtility.ParseQueryString(baseURL.Query).Get("key");
        if (key != "")
        {
            client.DefaultRequestHeaders.Add("api-key", key);
        }


        if (RequestMethod.Equals("GET"))
        {
            HttpResponseMessage response = await client.GetAsync(baseURL.ToString());

            if (response.IsSuccessStatusCode)
            {
                responseContent = await response.Content.ReadAsStringAsync();
            }
        }

        else if (RequestMethod.Equals("POST"))
        {
            JObject jObject = JObject.Parse(Data);

            var stringContent = new StringContent(jObject.ToString(), Encoding.UTF8, "application/json");

            HttpResponseMessage response = await client.PostAsync(baseURL.ToString(), stringContent);

            if (response.IsSuccessStatusCode)
            {
                responseContent = await response.Content.ReadAsStringAsync();

            }
        }

        return RedirectToPage("Response", new { result = responseContent });

    }
    catch(ArgumentNullException uex)
    {
        return RedirectToPage("Error", new { msg = uex.Message + " | URL missing or invalid." });
    }
    catch (JsonReaderException jex)
    {
        return RedirectToPage("Error", new { msg = jex.Message + " | Json data could not be read." });
    }
    catch (Exception ex)
    {
        return RedirectToPage("Error", new { msg = ex.Message + " | Are you missing some Json keys and values? Please check your Json data." });
    }
}
Let’s dissect the code
First thing I do is get the URL,
Uri baseURL = new Uri(BaseUrl);
using the Uri namespace. And then, I declare my HttpClient variable,
HttpClient client = new HttpClient();
Then, I read any querystring from the URL if any,
string key = HttpUtility.ParseQueryString(baseURL.Query).Get("key");
if (key != "")
{
    client.DefaultRequestHeaders.Add("api-key", key);
}
So, if there is a querystring, I add that string as part of the request to the web service. This is just for demo purposes because my web service really does not check or require any kind of parameter. However, in case your web service requires an API key, public key or any kind of parameters, that is how you do it.
if RequestMethod is equal to GET,
if (RequestMethod.Equals("GET"))
{
    HttpResponseMessage response = await client.GetAsync(baseURL.ToString());

    if (response.IsSuccessStatusCode)
    {
        responseContent = await response.Content.ReadAsStringAsync();
    }
}
we simply pass the URL to GetAsync method of HttpClient — basically, this calls the web service.
The result is returned as HttpResponseMessage. This object contains the status of the request (or response), as well as data. For example, if the user enters http:localhost/api/v1/Employees in the URL box, and selects GET from the dropdown box, the web service returns all employees. If the URL was http:localhost/api/v1/Employees/2, then we get one employee whose id is 2.
Thus, the response message contains the status of the request (200, 201, 400, etc.) PLUS the payload, which is the data your requested.
if RequestMethod is equal to POST,
else if (RequestMethod.Equals("POST"))
{
    JObject jObject = JObject.Parse(Data);

    var stringContent = new StringContent(jObject.ToString(), Encoding.UTF8, "application/json");

    HttpResponseMessage response = await client.PostAsync(baseURL.ToString(), stringContent);

    if (response.IsSuccessStatusCode)
    {
        responseContent = await response.Content.ReadAsStringAsync();

    }
}
we simply pass the URL and our json data to the PostAsync method. This calls the web service’s POST method which, in turn, use your json data to create a new employee instance in the database.
When it’s all done and processed and data returned, we are redirected to the Response page with,
return RedirectToPage("Response", new { result = responseContent });
This page simply displays the requested data in the case of GET request, and displays the created data in the case of POST request. I will talk about the Response page next.
Response Page
If you’re following this turorial, and haven’t created a Response Razor page, create it now. Just right-click Pages folder » Add New Item » Razor Page. Visual Studio will ceate two files — Response.cshtml and Response.cshtml.cs under Pages folder.
This is what I put inside Response page.
@page
@model ResponseModel
@{
    ViewData["Title"] = "Response";
}

<h1 class="text-danger">Result</h1>
<div>@Model.ResponseBody</div>
And inside my Response model,
public class ResponseModel : PageModel
{
    public string ResponseBody { get; set; }

    public void OnGet(string result)
    {
        ResponseBody = result;
    }
}
The OnGet() method takes the result coming from the Index PageModel; then, it passes that same result to the ResponseBody property. And voila! The data you requested is displayed on the Response page!
Error Page
If you noticed that I have exception handlers inside the Index model, such as ArgumentNullException, JsonReaderException, and Exception. When we get these exception, the handler redirects us to the Error page, and pass our custom message.
This is what I put inside the Error page,
@page
@model ErrorModel
@{
    ViewData["Title"] = "Error";
}

<h1 class="text-danger">Error. </h1>
<h2>@Model.ExceptionMessage</h2>

@if (Model.ShowRequestId)
{
    <p>
        <strong>Request ID:</strong> <code>@Model.RequestId</code>
    </p>

}
And inside the Error model,
[ResponseCache(Duration = 0, Location = ResponseCacheLocation.None, NoStore = true)]
public class ErrorModel : PageModel
{
    public string RequestId { get; set; }

    public bool ShowRequestId => !string.IsNullOrEmpty(RequestId);

    public string ExceptionMessage { get; set; }

    public void OnGet(string msg)
    {
        RequestId = Activity.Current?.Id ?? HttpContext.TraceIdentifier;

        ExceptionMessage = msg;

    }
}
Basically, I added ExceptionMessage property. Then, I changed the OnGet() to accept string msg so I can pass that error message out to the page.
And That’s it!
And that’s my simple REST client. Below is a pictorial demo of the application.
Application Demo
When we run our client application, this is what we get.
As you can see, there are 3 boxes — a textbox for URL, a dropdown to select either GET, POST, PUT, or DELETE, and a textarea for the Json data.
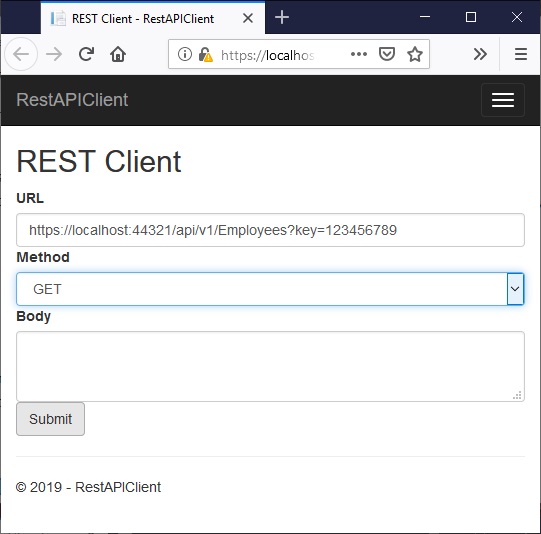
As illustrated above, I entered the URL of my web service (running off of another open Visual Studio). Let’s disect that URL for a moment,
localhost:44321/api/v1/Employees?key=123456789
Because I want to get all employees, I simply say, /api/v1/Employees. If I wanted employee whose Id is 2, for example, I would say, /api/v1/Employees/2. With regards to key=123456789, this is just for demonstration purposes. I simply want to demonstrate how to read that parameter as well as how to send it to the web service — my actual web service does not check it.
Below, I show the result of that request after clicking Submit.

Employee with id 2

result

creating employee

result
